Kehalim’s Express Affiliate Links Help Monetize Wibiya
I was never a fan of toolbars. Be it Google toolbar (though I’m a big fan of Big G’s apps), Alexa or any bloody toolbar, I treat it with disgust because it hogs the resources of your browser. Even lightweight browsers like FireFox and Chrome is not being spared by it, not to mention IE who have long been infested and targeted with malicious spywares embedded within.
However, Wibiya changed all that. For all you bloggers out there, Wibiya is one heck of a toolbar that you must have! Different from browser toolbar who sits annoyingly on top, Wibiya sits at the bottom in a way that it minimizes distraction, and of course annoyance.
Wibiya has recently launched a module that monetize by turning links into affiliate links – automatically! The module is called Express Affiliate Links powered by Kehalim. Not really sure how it works just yet but I believe Wibiya is raking some percentage of the profits by being the middleman. I viewed the application in Kehalim’s and it seems like they are very strict about who is applying to be their publisher. From the list, I can only see big brand names being their publisher and they boastfully say they normally reject 90% of applicants to their program.
Since they have claimed themselves as ‘top notch’ contextual advertisers, I have no qualms if Wibiya took some of the share as a middleman. They claimed that their integration is instant and seamless – making money almost instantly? (Wow!). The good stuff is it retains the user experience, look and feel of your blog which means your layout and design is not being tempered with.
They also boastfully claim that they have more than 25,000 merchants including big names like Commission Junction, Linkshare, Amazon, Google, Tradedoubler etc. What’s surprising is, we did not need to apply for those merchants separately. This module simplifies the task for us. Also the process saves us the need of utilising widgets in our blog.
Once activated, the Express Affiliate Link module appears in the dashboard where we can start tracking all our affiliate earnings.
Here are the steps to get and activate Wibiya:
Go to Wibiya, click ‘Get it now’, fill up the form and then proceed to ‘Select Theme’.

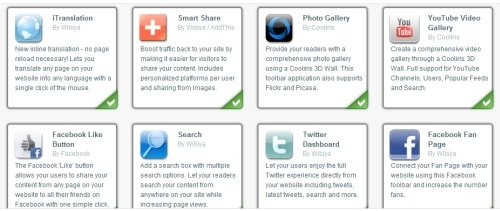
Proceed to ‘Select Your App’. The ones featured are default apps such as Facebook, Twitter, Youtube, Itranslation, etc. You can choose to install other less known modules if you want to. By default, all the featured modules are added. All you need to do is just to remove the unwanted ones.
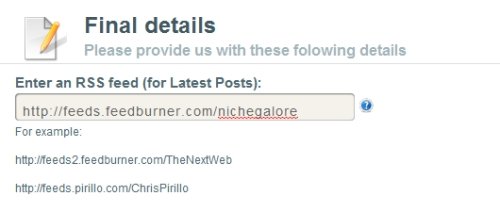
When you are done with that, a dialogue box will pop out and prompt you to fill up all the necessary information for the modules that you have selected/installed. The core settings that you need to add in is your RSS, Facebook Fan Page, Twitter account etc. Save the lot and you will be directed to the next page – ‘Add it’ page.
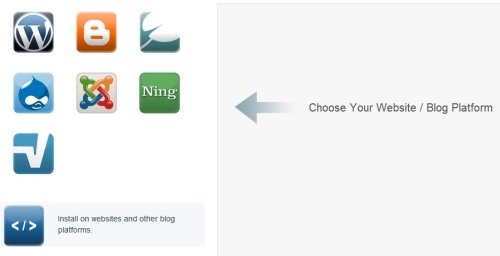
The ‘Add it’ page provides option for you to choose your blogging platform such as WordPress, Blogspot, Drupal etc
Pay special attention to the next page when you are ready to download your plugin. Wibiya provides two method of activating the toolbar. First is the typical method – download plugin via ‘download plugin now’ and activate them in your WordPress blog and second method ‘install on websites and other blog platforms’. (on the left)
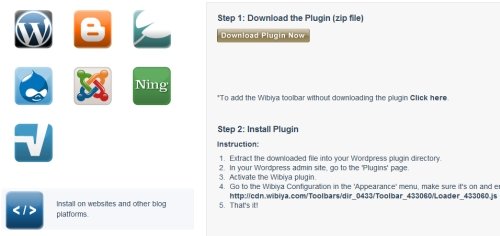
To save you time of customising your modules each time new modules are being released or changed, I would recommend that you go for the second choice. This is because the single code puts the toolbar in effect immediately once you have customised your toolbar modules in Wibiya’s dashboard.
As for plugins, it is really time consuming as you need to:
- Deactivate the plugin
- Delete them. Depending on how your caching is efficient, ‘ghosting’ can occur until you delete your cache permanently.
- Reupload the newly ‘packaged’ plugin to your FTP. (I say repackaged as once you add new modules and delete unwanted ones, the whole process when you checkout will be repackaged in a new zip file)
- Reactivate the plugin
Go for the code! Embed them just before </body> in your footer.php. (open Themes>Editor in your WordPress backend). Save, and refresh.
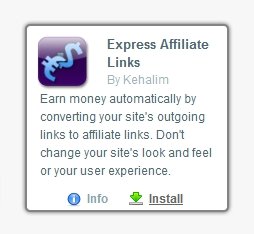
Another one thing to note that Express Affiliate Links is not part of the featured modules when you first apply. Once you signup you need to go to Wibiya’s Web Application . Click ‘Add More Apps’, select Express Affiliate Links by clicking ‘Install’ and save.
The activated Express Affiliate Link module is indicated by your Dashboard where an extra tab called ‘Express Ads’ will appear on top.
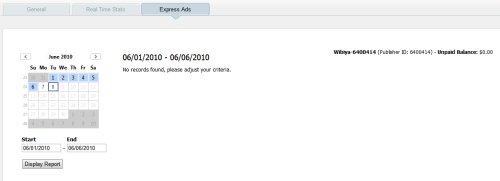
During the time of this writing none of my links are being converted yet. I will check it out from time to time to see how efficient is the monetization process in Wibiya.
Stay tuned!
Thanks for the step-by-step guide! We've linked it as part of a rolling post created here http://blog.kehalim.com/post/673916216/wibiya-int… to help others learn more about the integration.
I would just comment on two points you've raised. Signing up to Express Ads is open for all Wibiya publishers (our acceptance rules are different for publishers who opt into Contextual Ads, see http://www.kehalim.com/publishers). Lastly, there's no benefit in signing up directly through us since Wibiya is not raking additional revenues (all publishers keep 70% of their earnings).